Create and Publish a Swift Package to GitHub
Last Updated 2025-10-05 UTC+8.
In the realm of iOS development, the process of creating libraries plays a crucial role in enhancing code reusability and efficiency. Leveraging GitHub as a distribution mechanism adds a layer of accessibility and organization to these libraries. This article delves into the steps involved in crafting a Swift Package, publishing it to GitHub, and guides you on how to import and update the Swift Package created.
Development Environment
- Xcode 16.2
- macOS
Create a New Project
Go to GitHub, create a new repository with the
Swift.gitignoretemplate.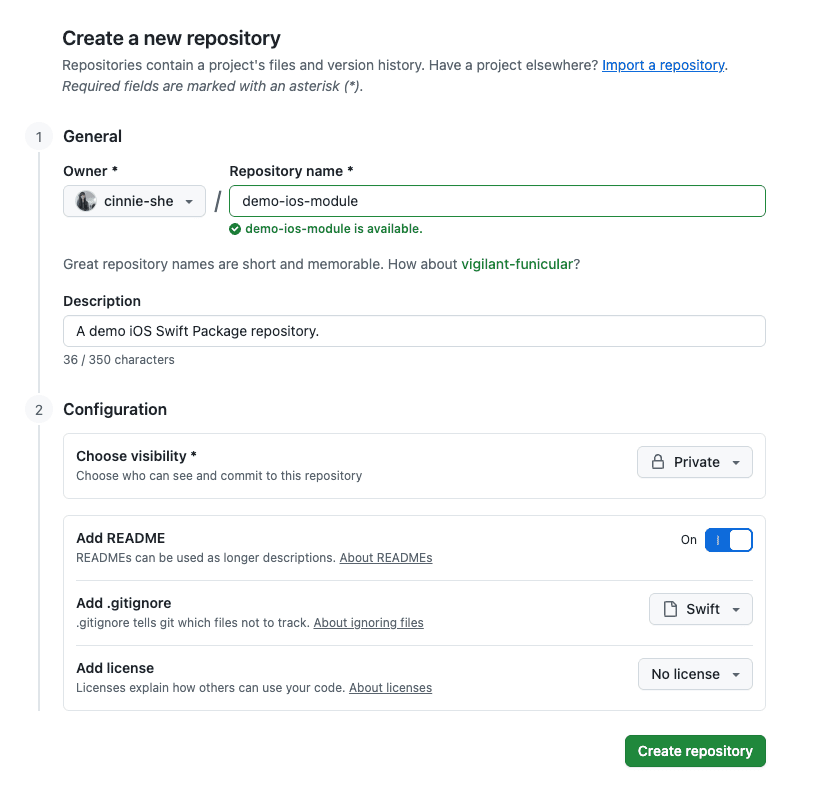
Clone it, and
cdto it from your terminal. E.g.,zshcd demo-ios-moduleInitialize your Swift Package in Terminal:
zshswift package initOpen your project in Xcode.
Set up APIs and Sample App
Create a test class in your Swift Package. For example, in the
Sourcesfolder, create a new Swift fileTestClass.swift:swift// // TestClass.swift // DemoLibrary // // Created by Cinnie She on 5/10/2025. // public struct TestClass { public static func greet() -> String { return "Hello, Module Trial!" } }Create another Git project to setup the sample app.
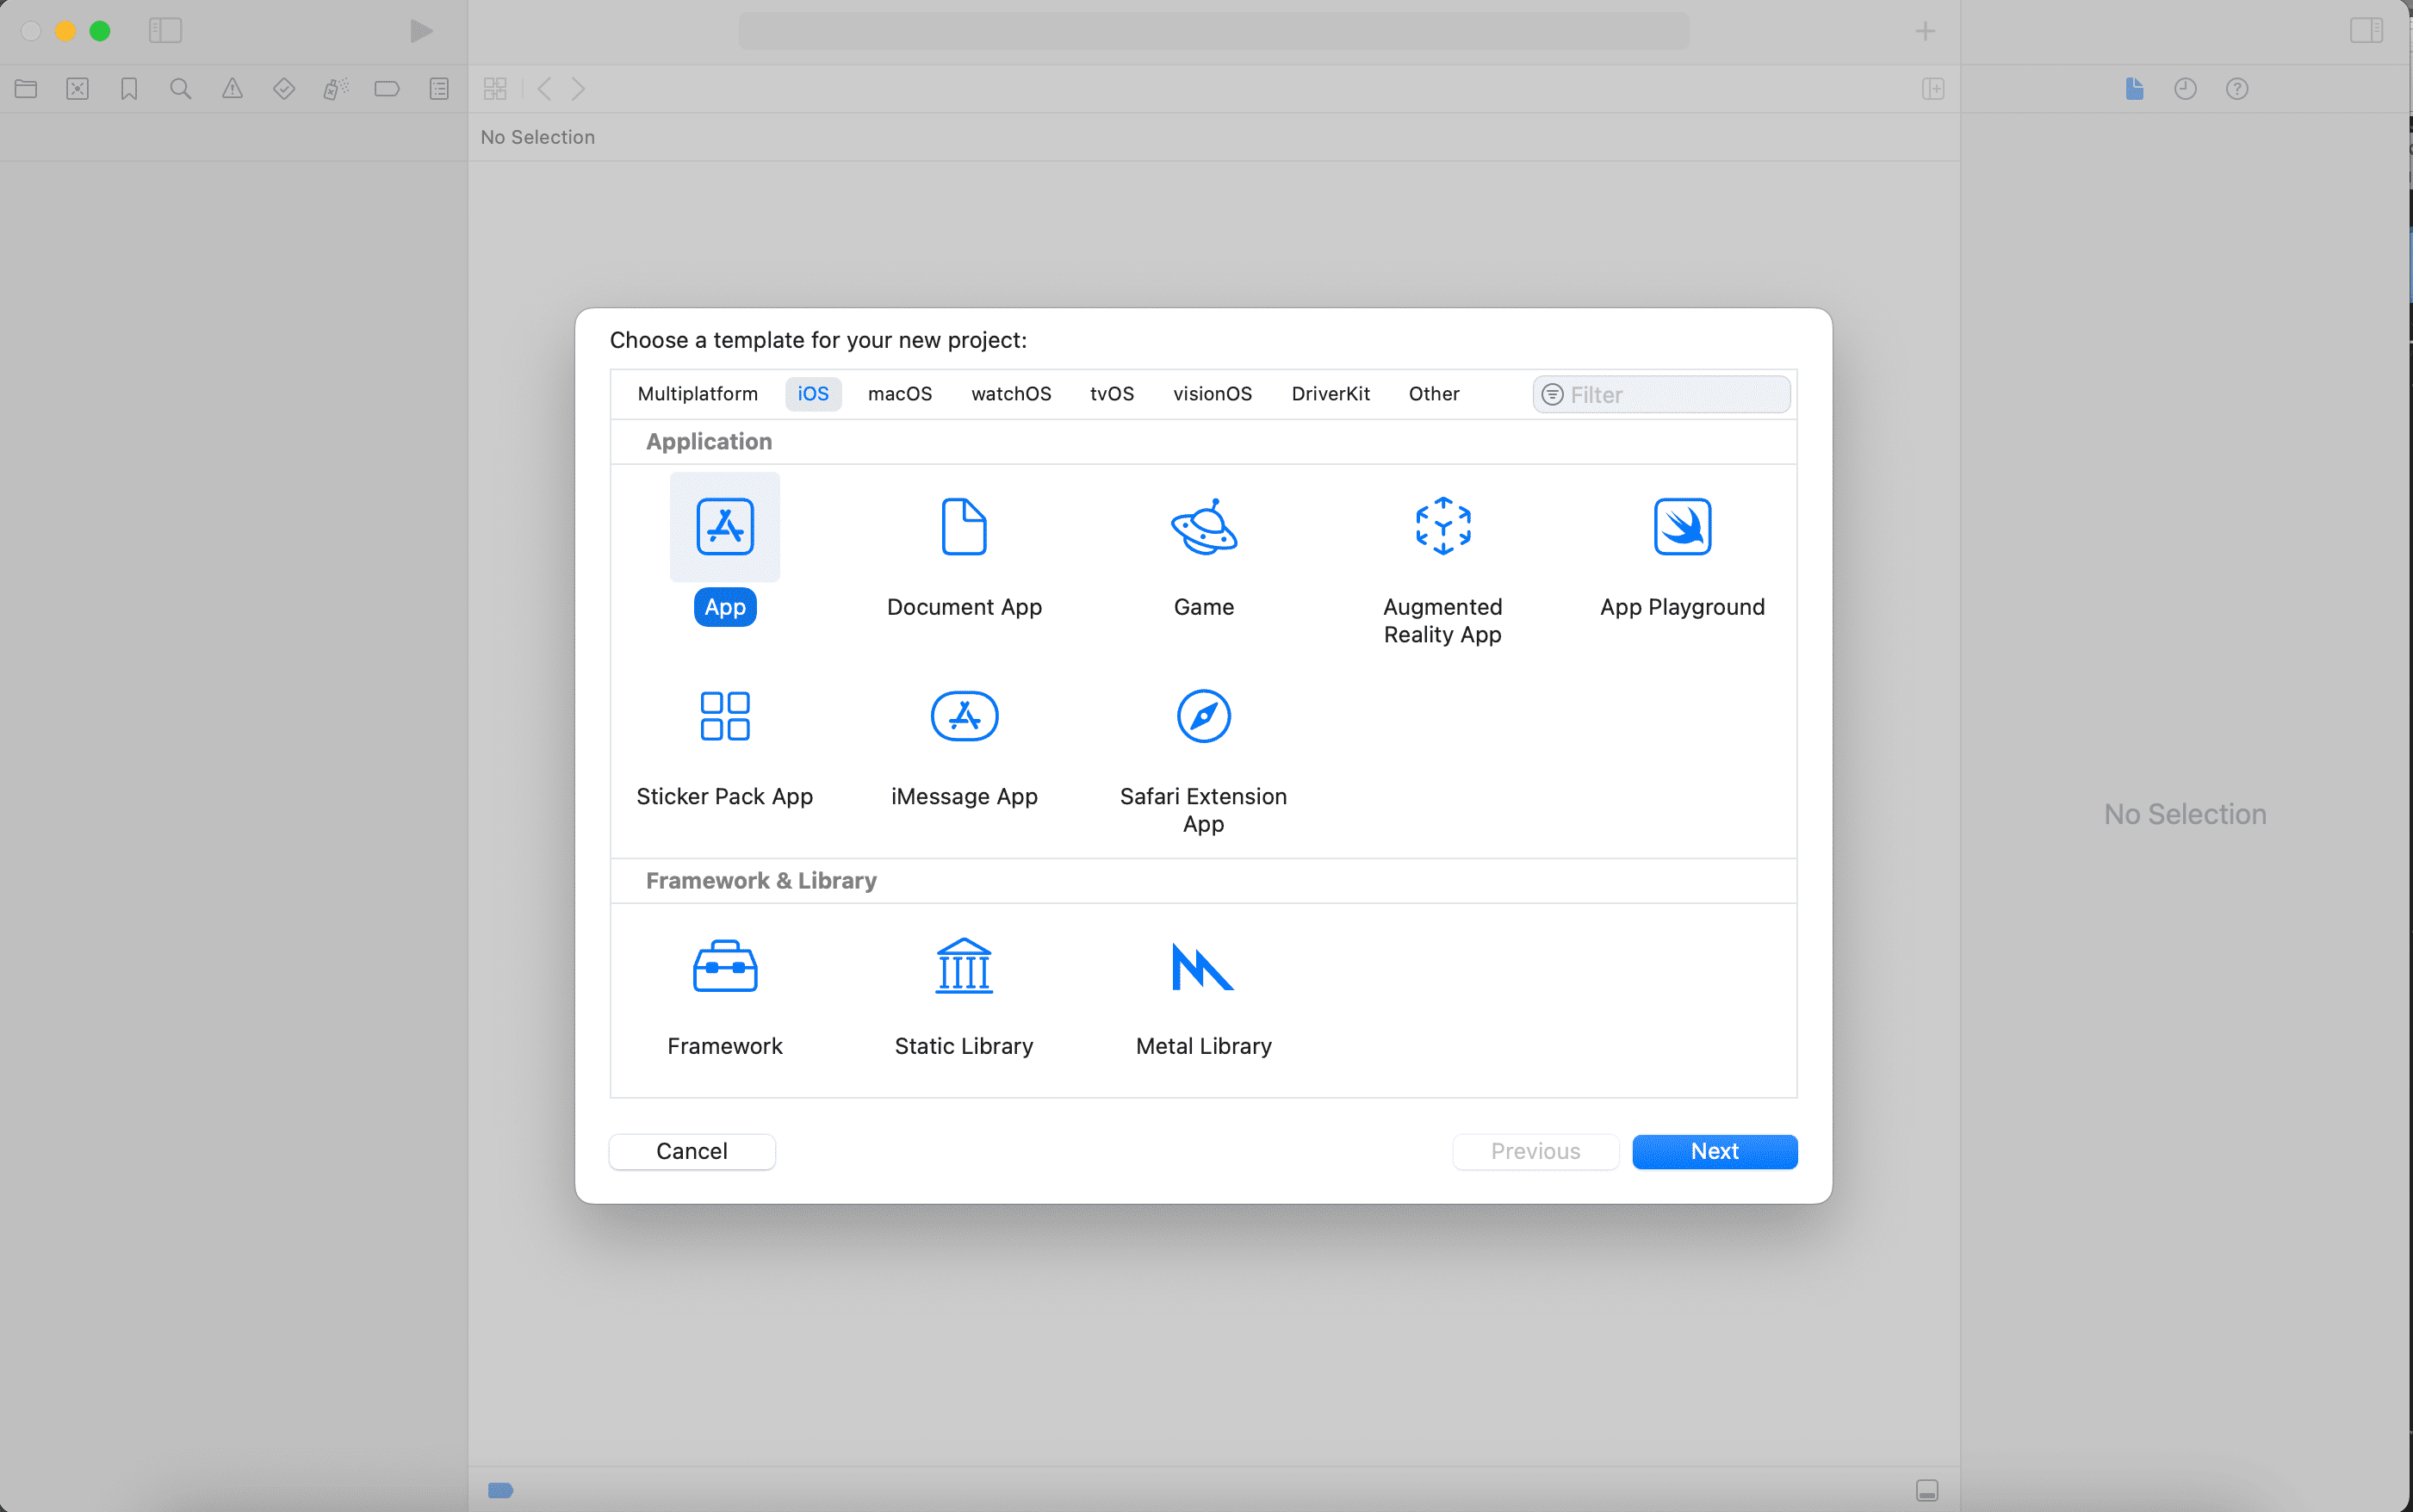
Input project info, and create the project.
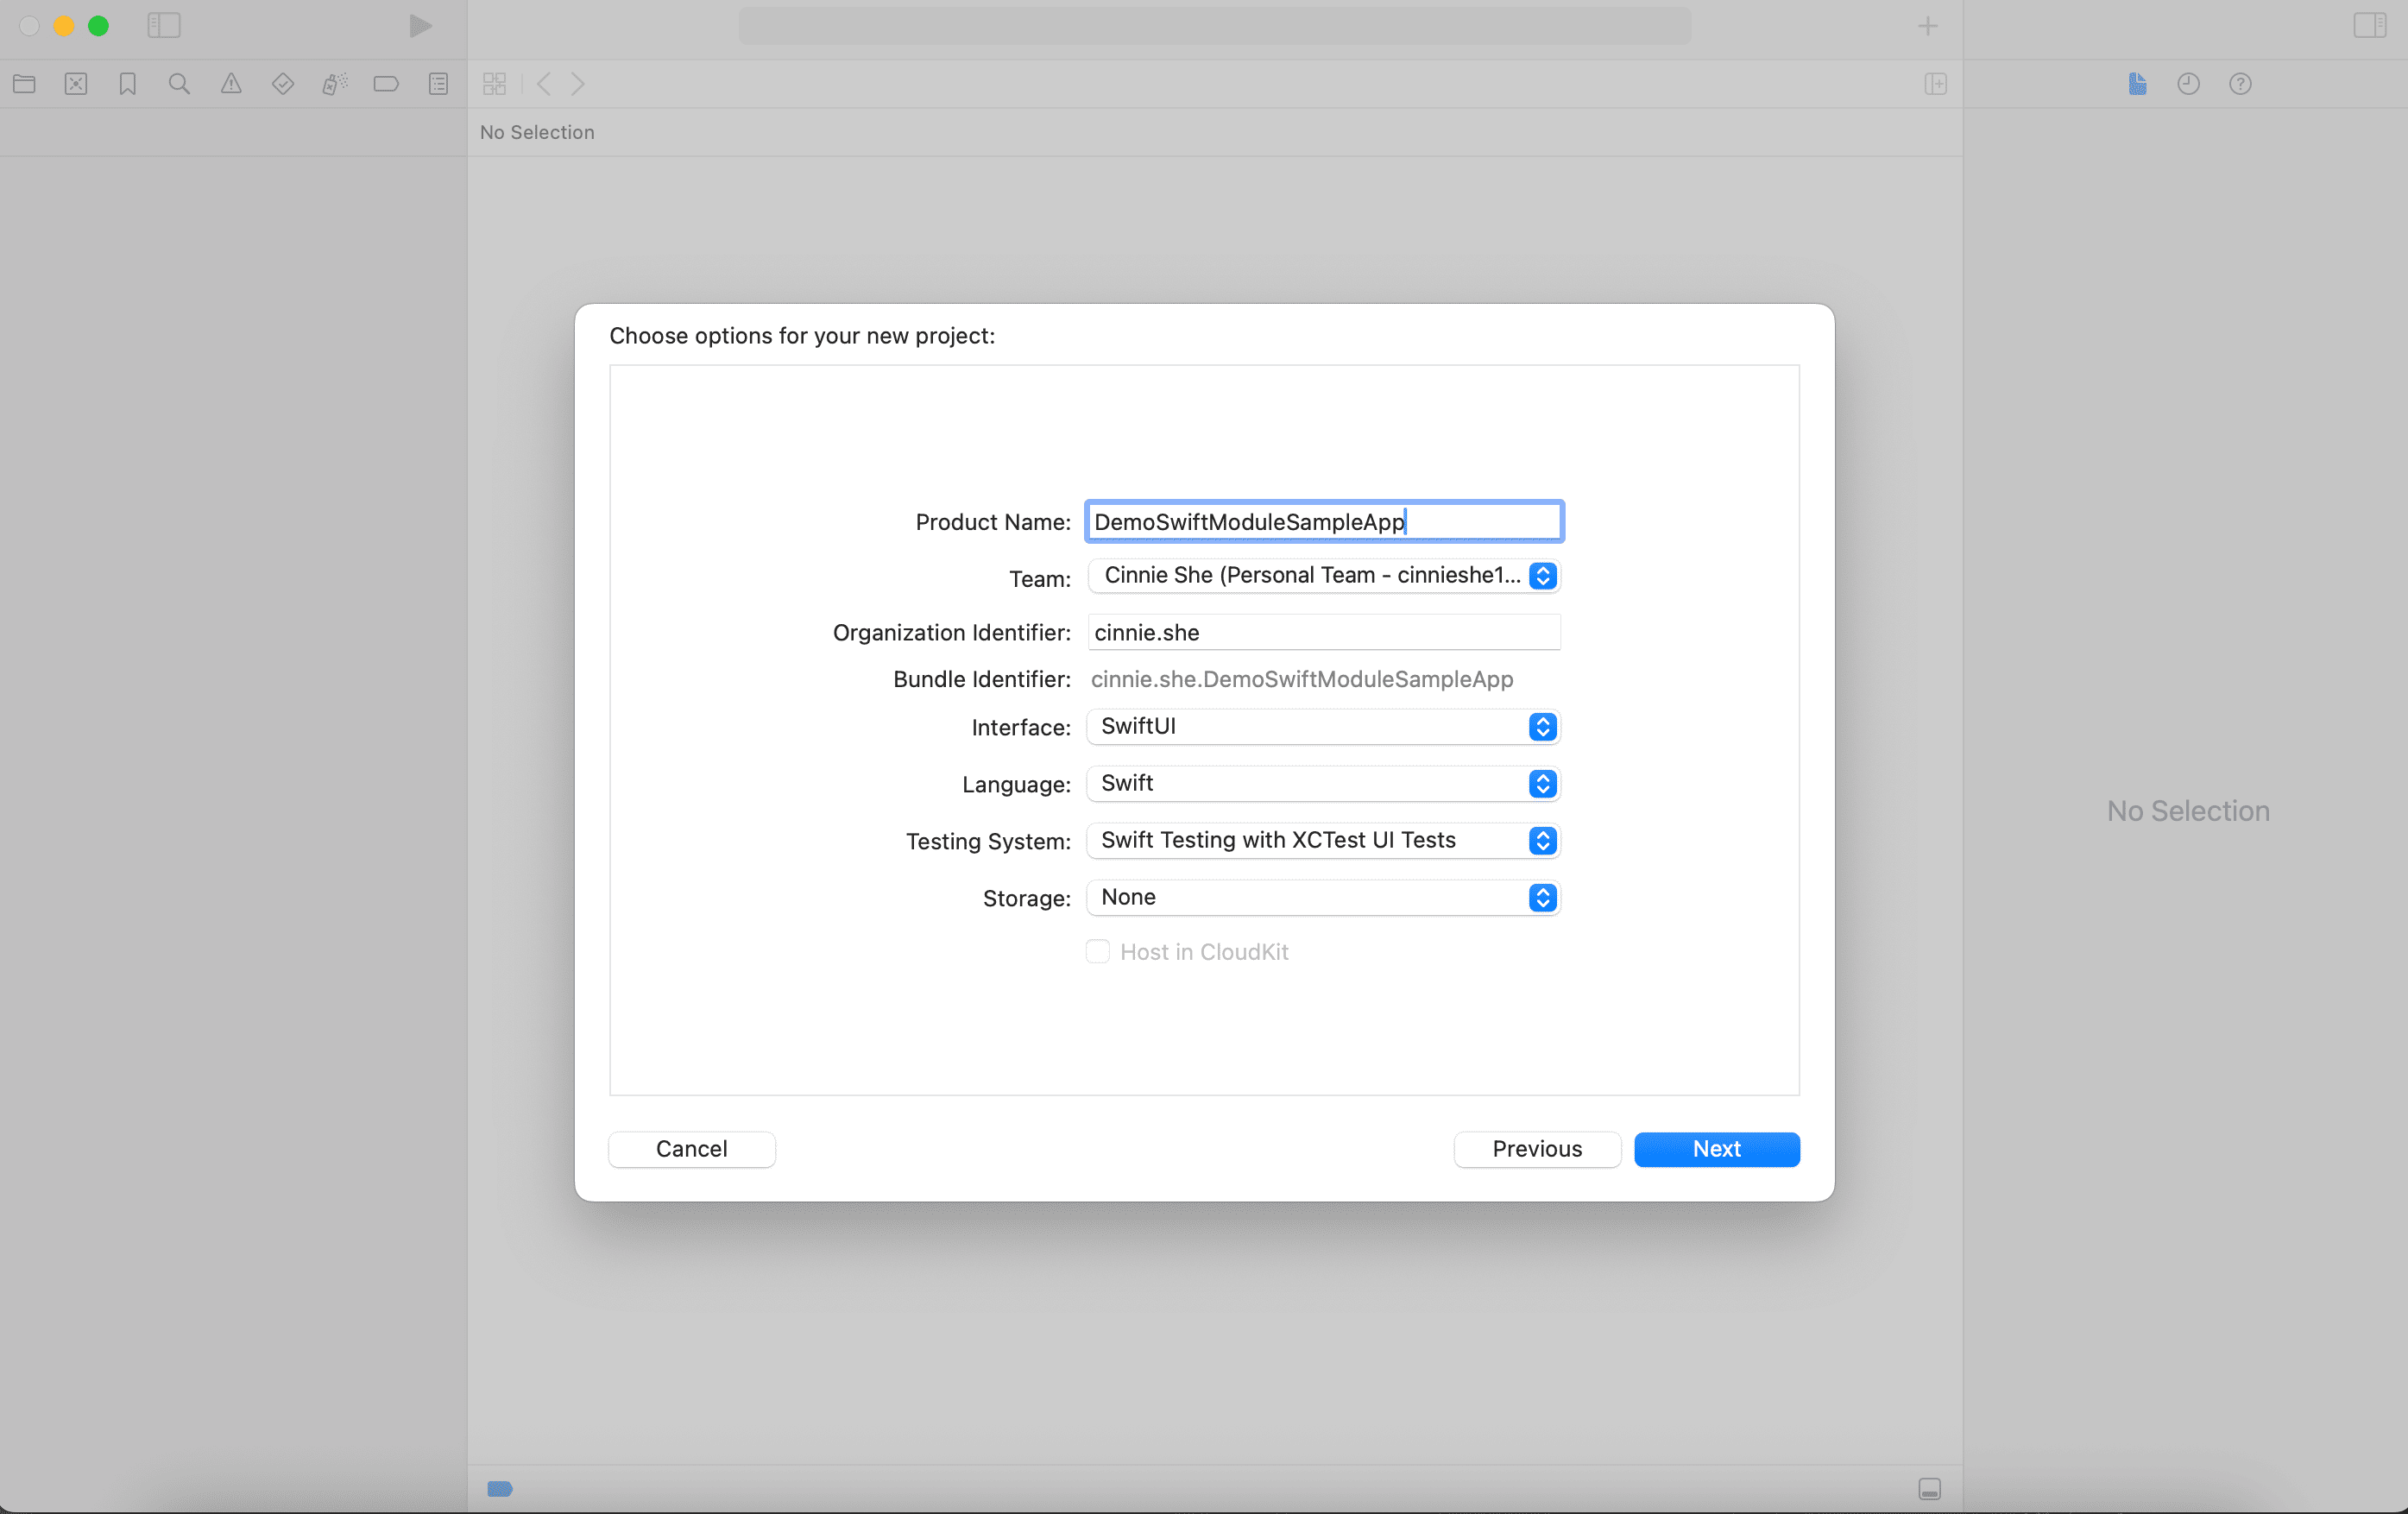
In the sample app we've just created, in Xcode, go to
File > Add Package Dependencies.Click
Add Local.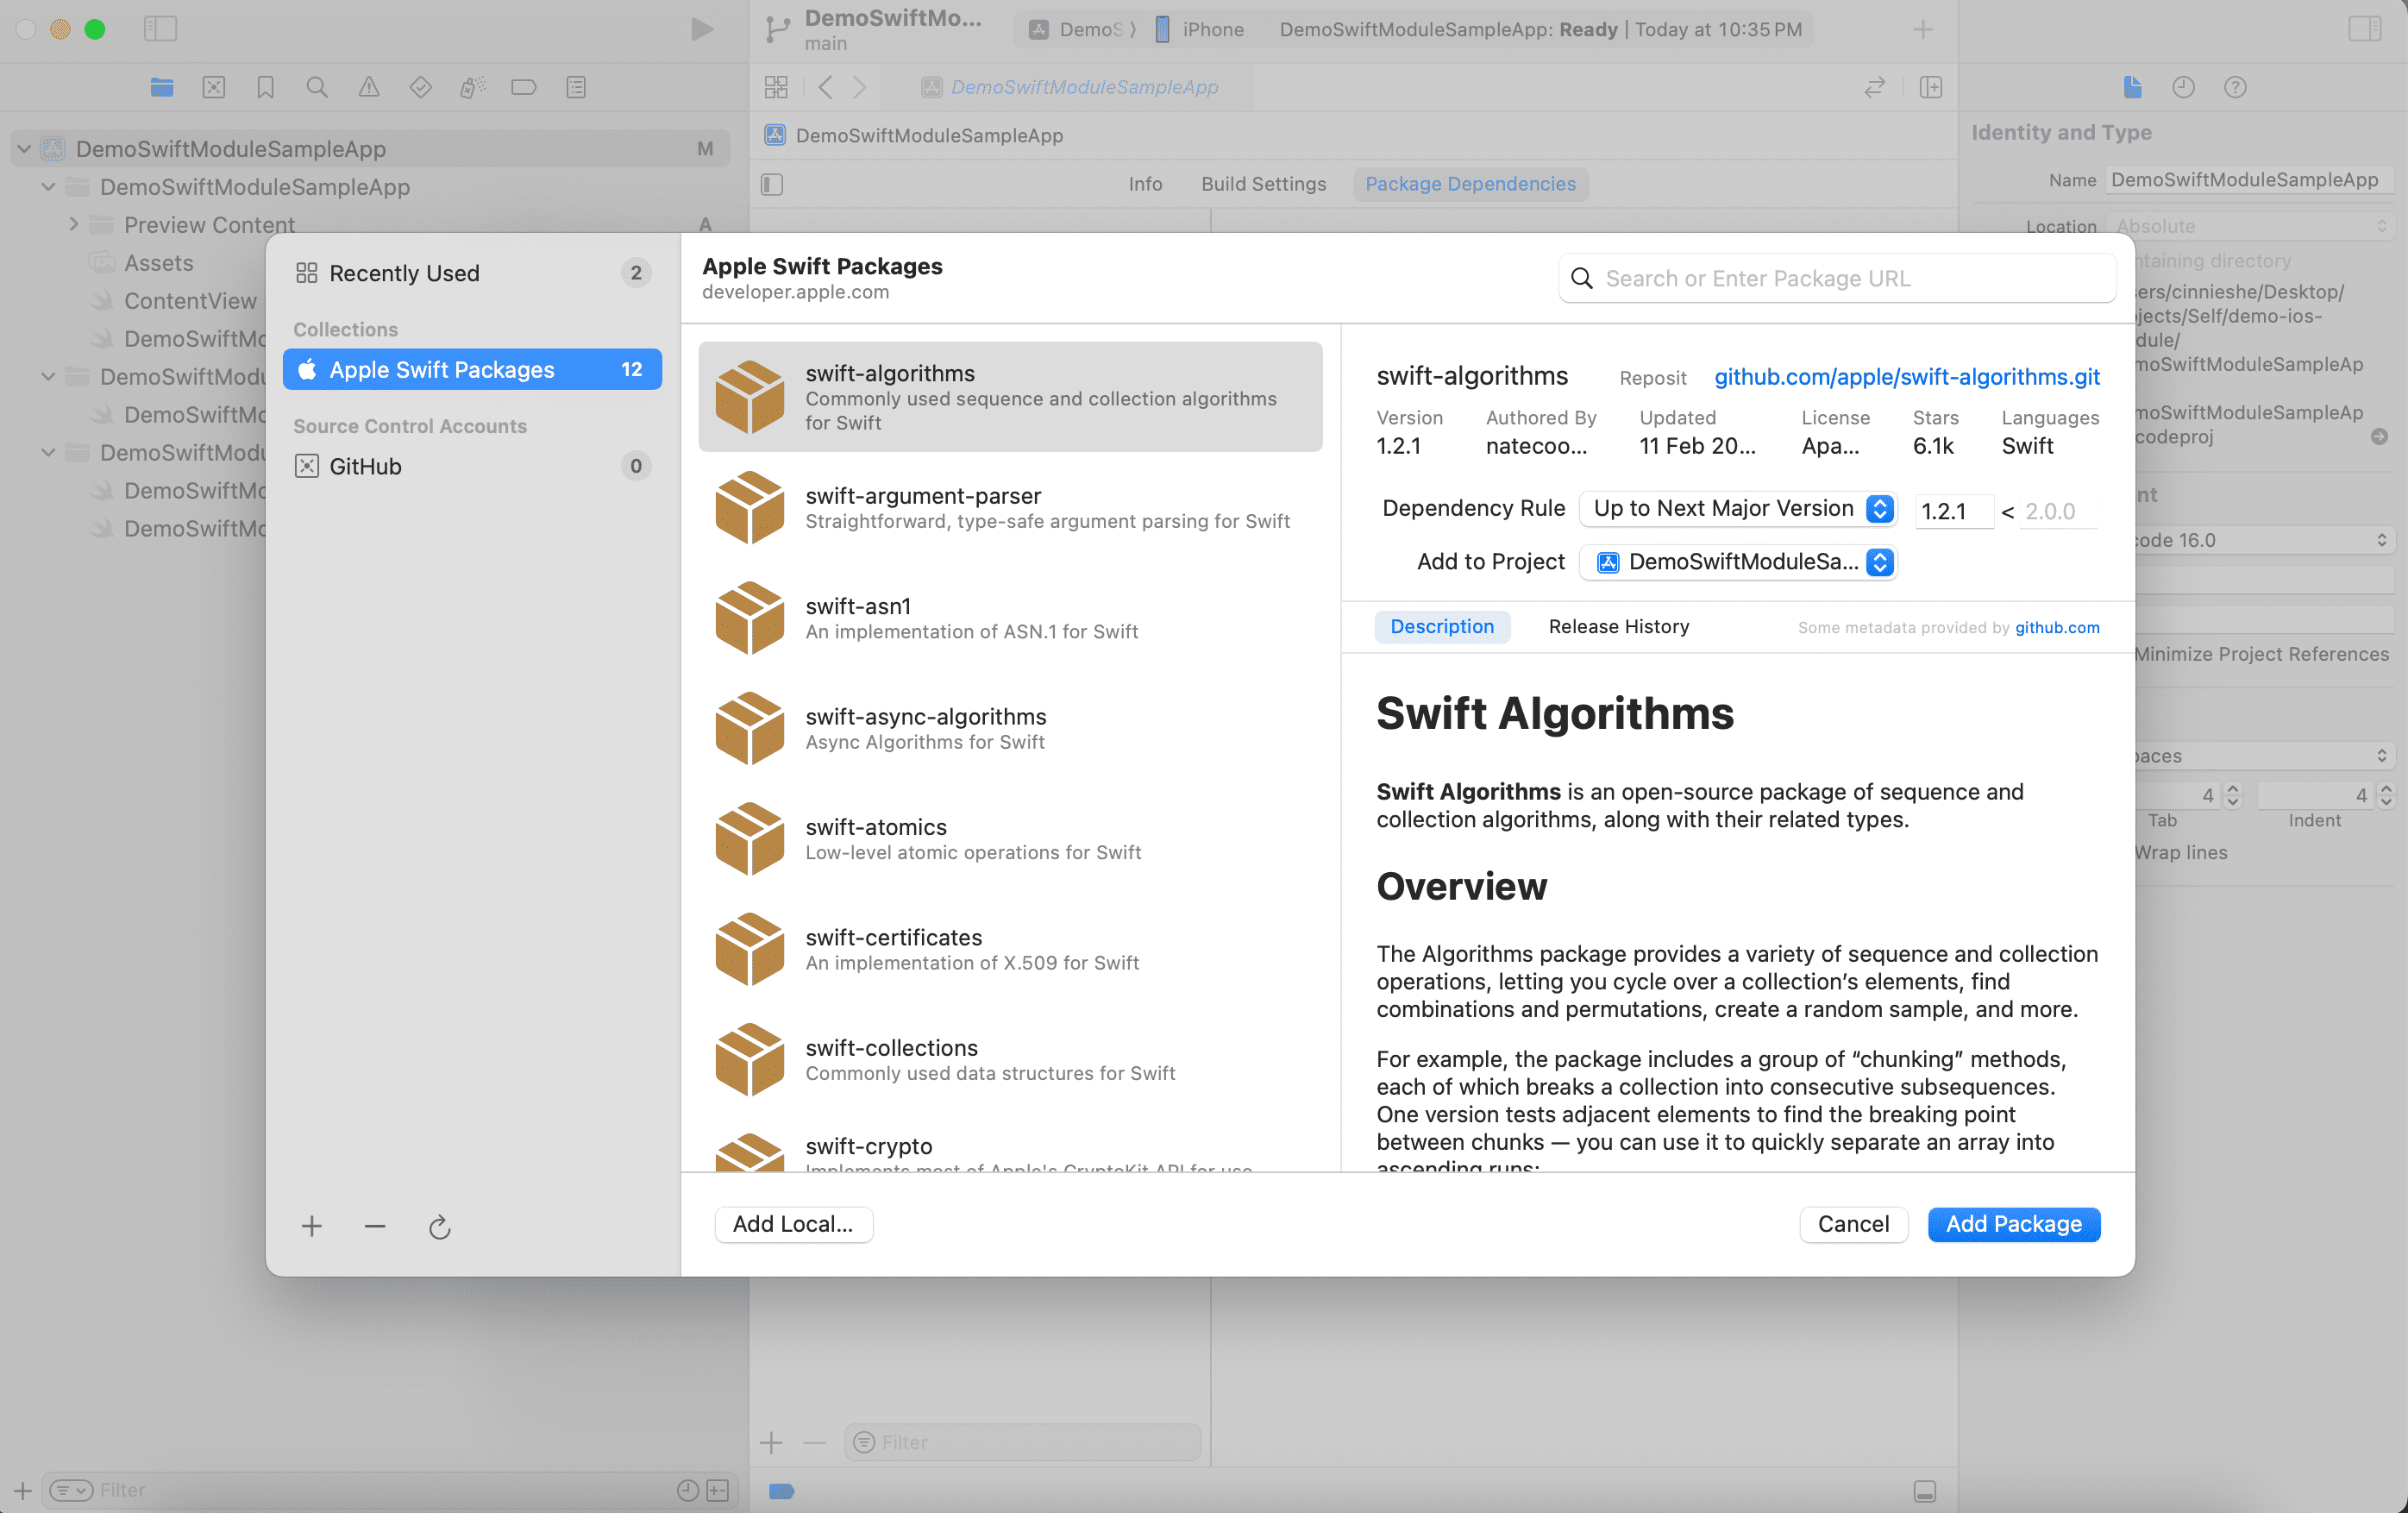
Choose your Swift Package repo directory, which contains the
Package.swiftfile.Add your Swift Package to your sample app target.
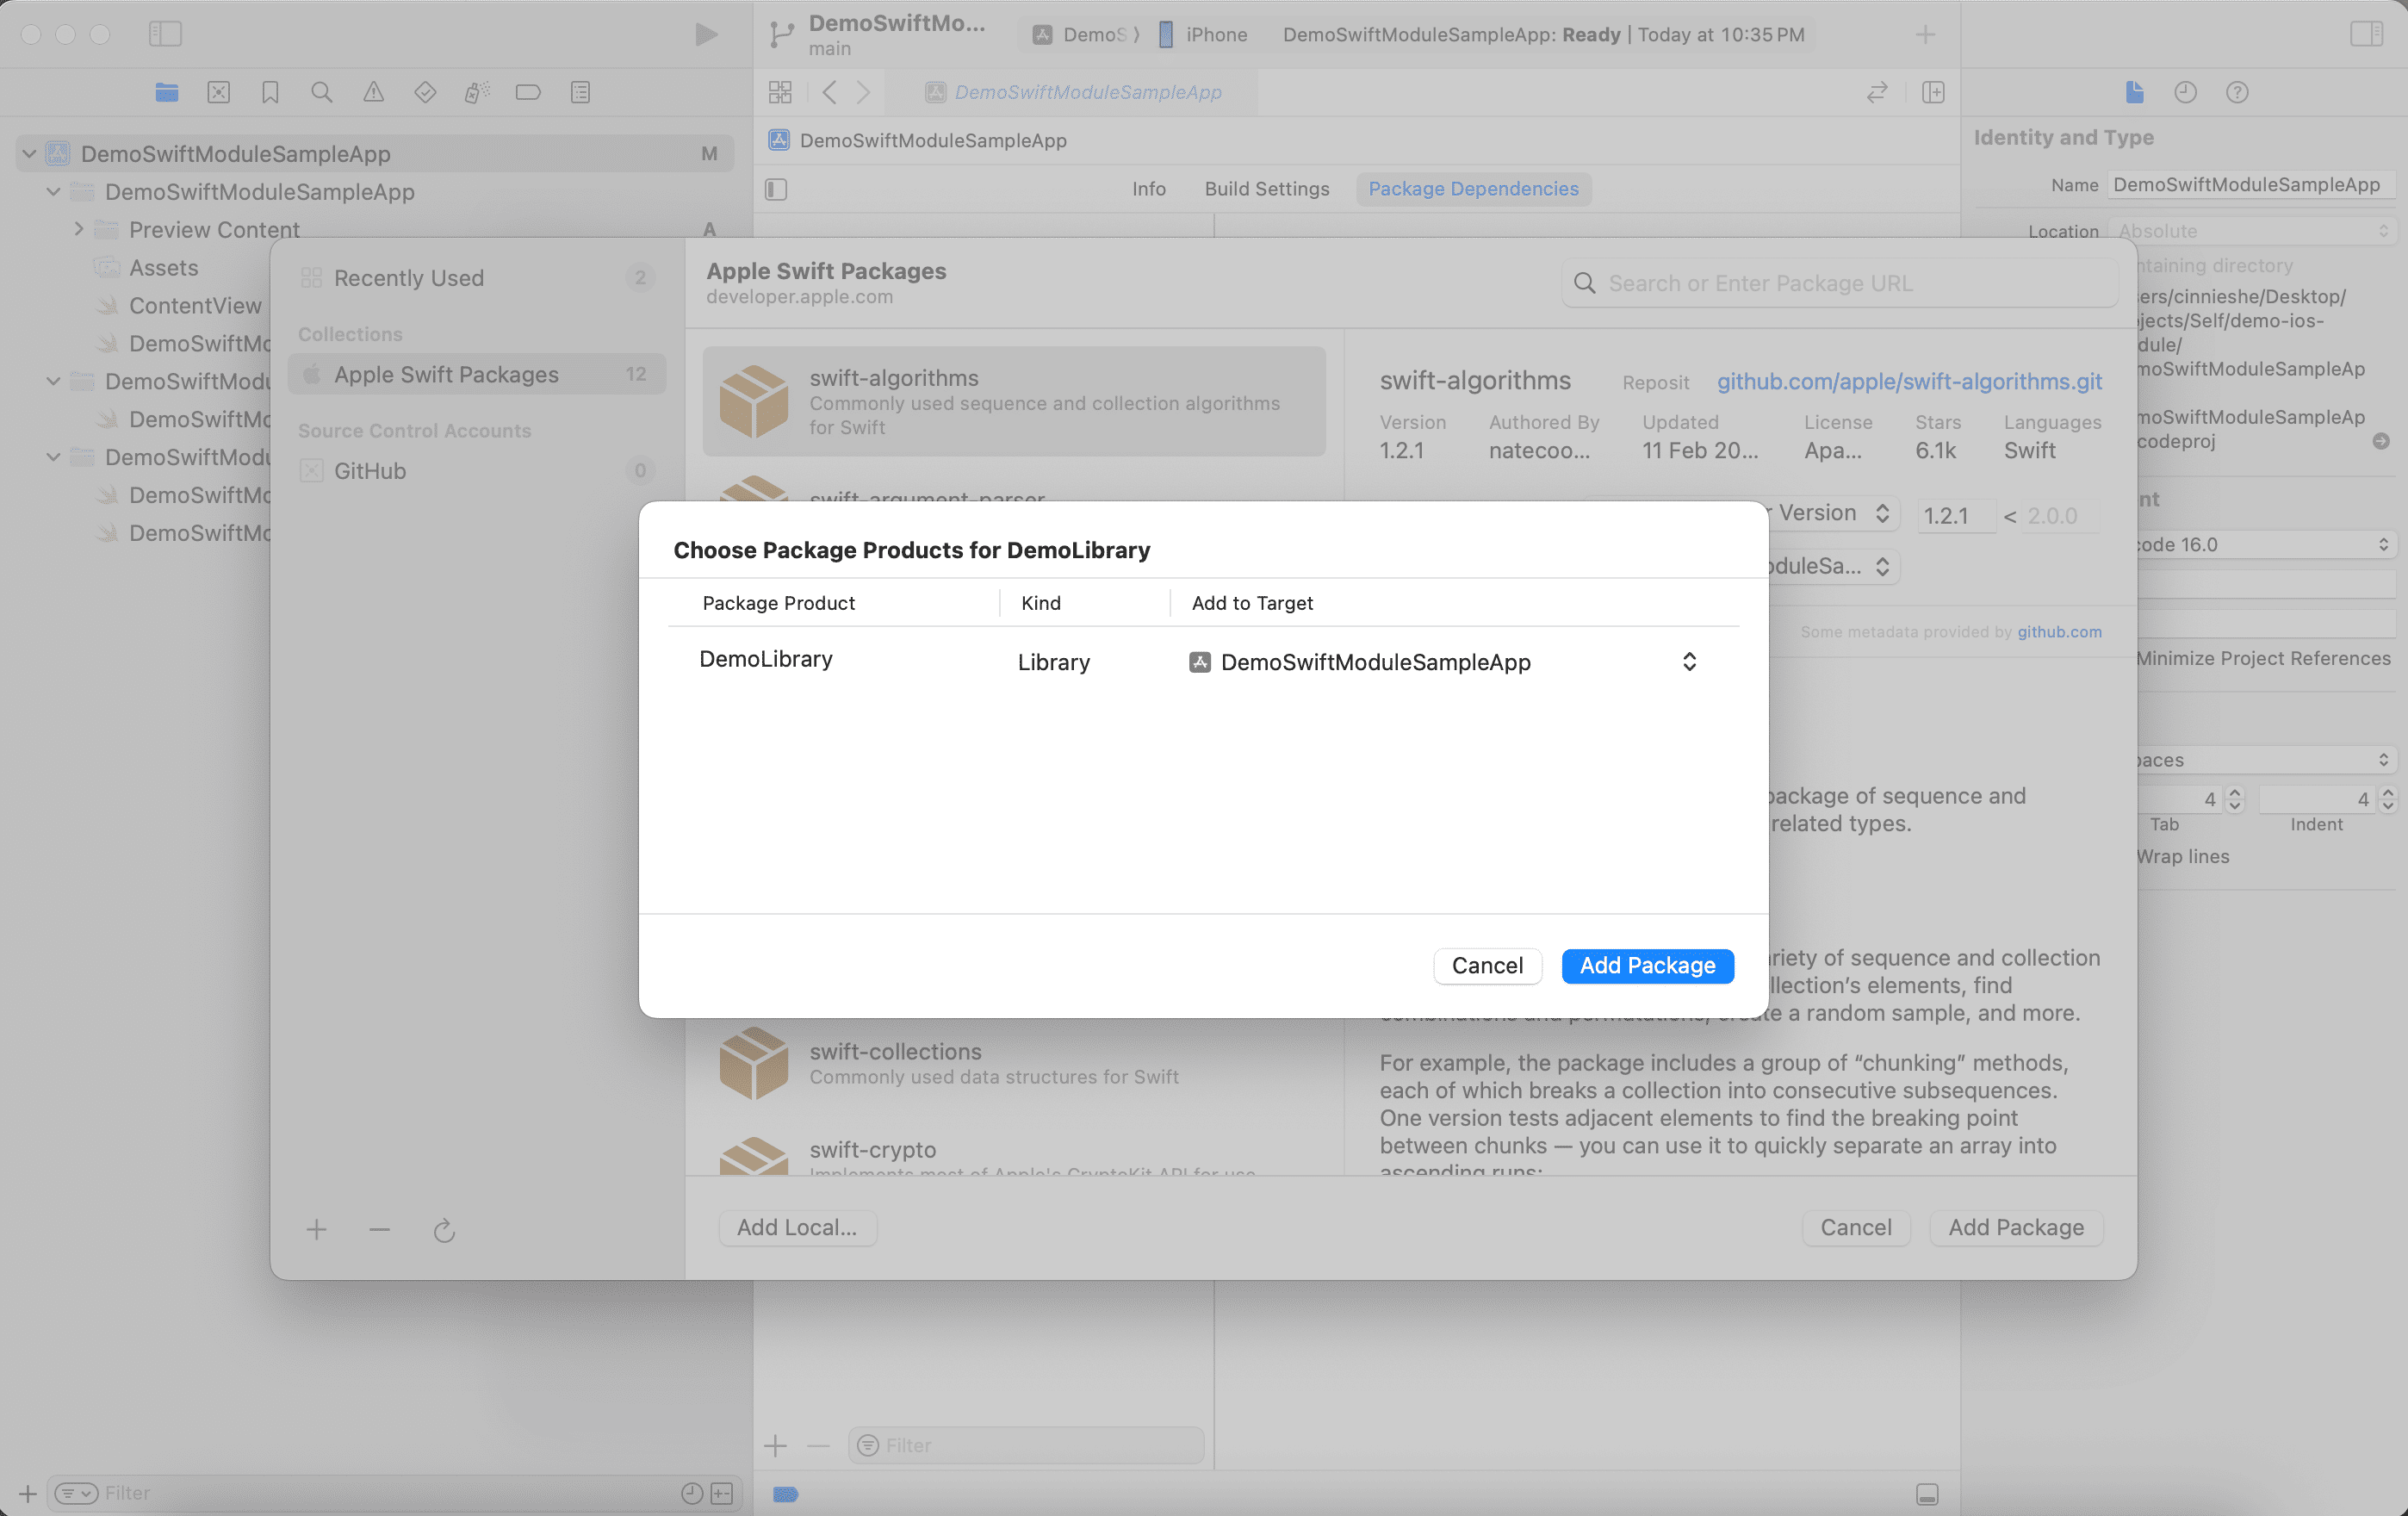
You should now see the local package imported from the left panel in Xcode.

Now, you can test your library via your sample app locally. E.g., update your
ContentViewwith:swift// // ContentView.swift // DemoSwiftModuleSampleApp // // Created by Cinnie She on 5/10/2025. // import SwiftUI import DemoLibrary struct ContentView: View { var body: some View { VStack { Image(systemName: "globe") .imageScale(.large) .foregroundStyle(.tint) Text(TestClass.greet()) // Update this line } .padding() } } #Preview { ContentView() }
Deploy to GitHub
Specify the platforms and their minimum deployment targets that your Swift package supports by adding
platformsinPackage.swiftfile of your library directory. E.g.,swift// swift-tools-version: 6.0 // The swift-tools-version declares the minimum version of Swift required to build this package. import PackageDescription let package = Package( name: "DemoLibrary", platforms: [ .iOS(.v18) // Add this ], products: [ // Products define the executables and libraries a package produces, making them visible to other packages. .library( name: "DemoLibrary", targets: ["DemoLibrary"]), ], targets: [ // Targets are the basic building blocks of a package, defining a module or a test suite. // Targets can depend on other targets in this package and products from dependencies. .target( name: "DemoLibrary"), .testTarget( name: "DemoLibraryTests", dependencies: ["DemoLibrary"] ), ] )Git commit and tag your commit with your version number, e.g.,
1.0.0. Push to GitHub. This should have created a GitHub Release automatically.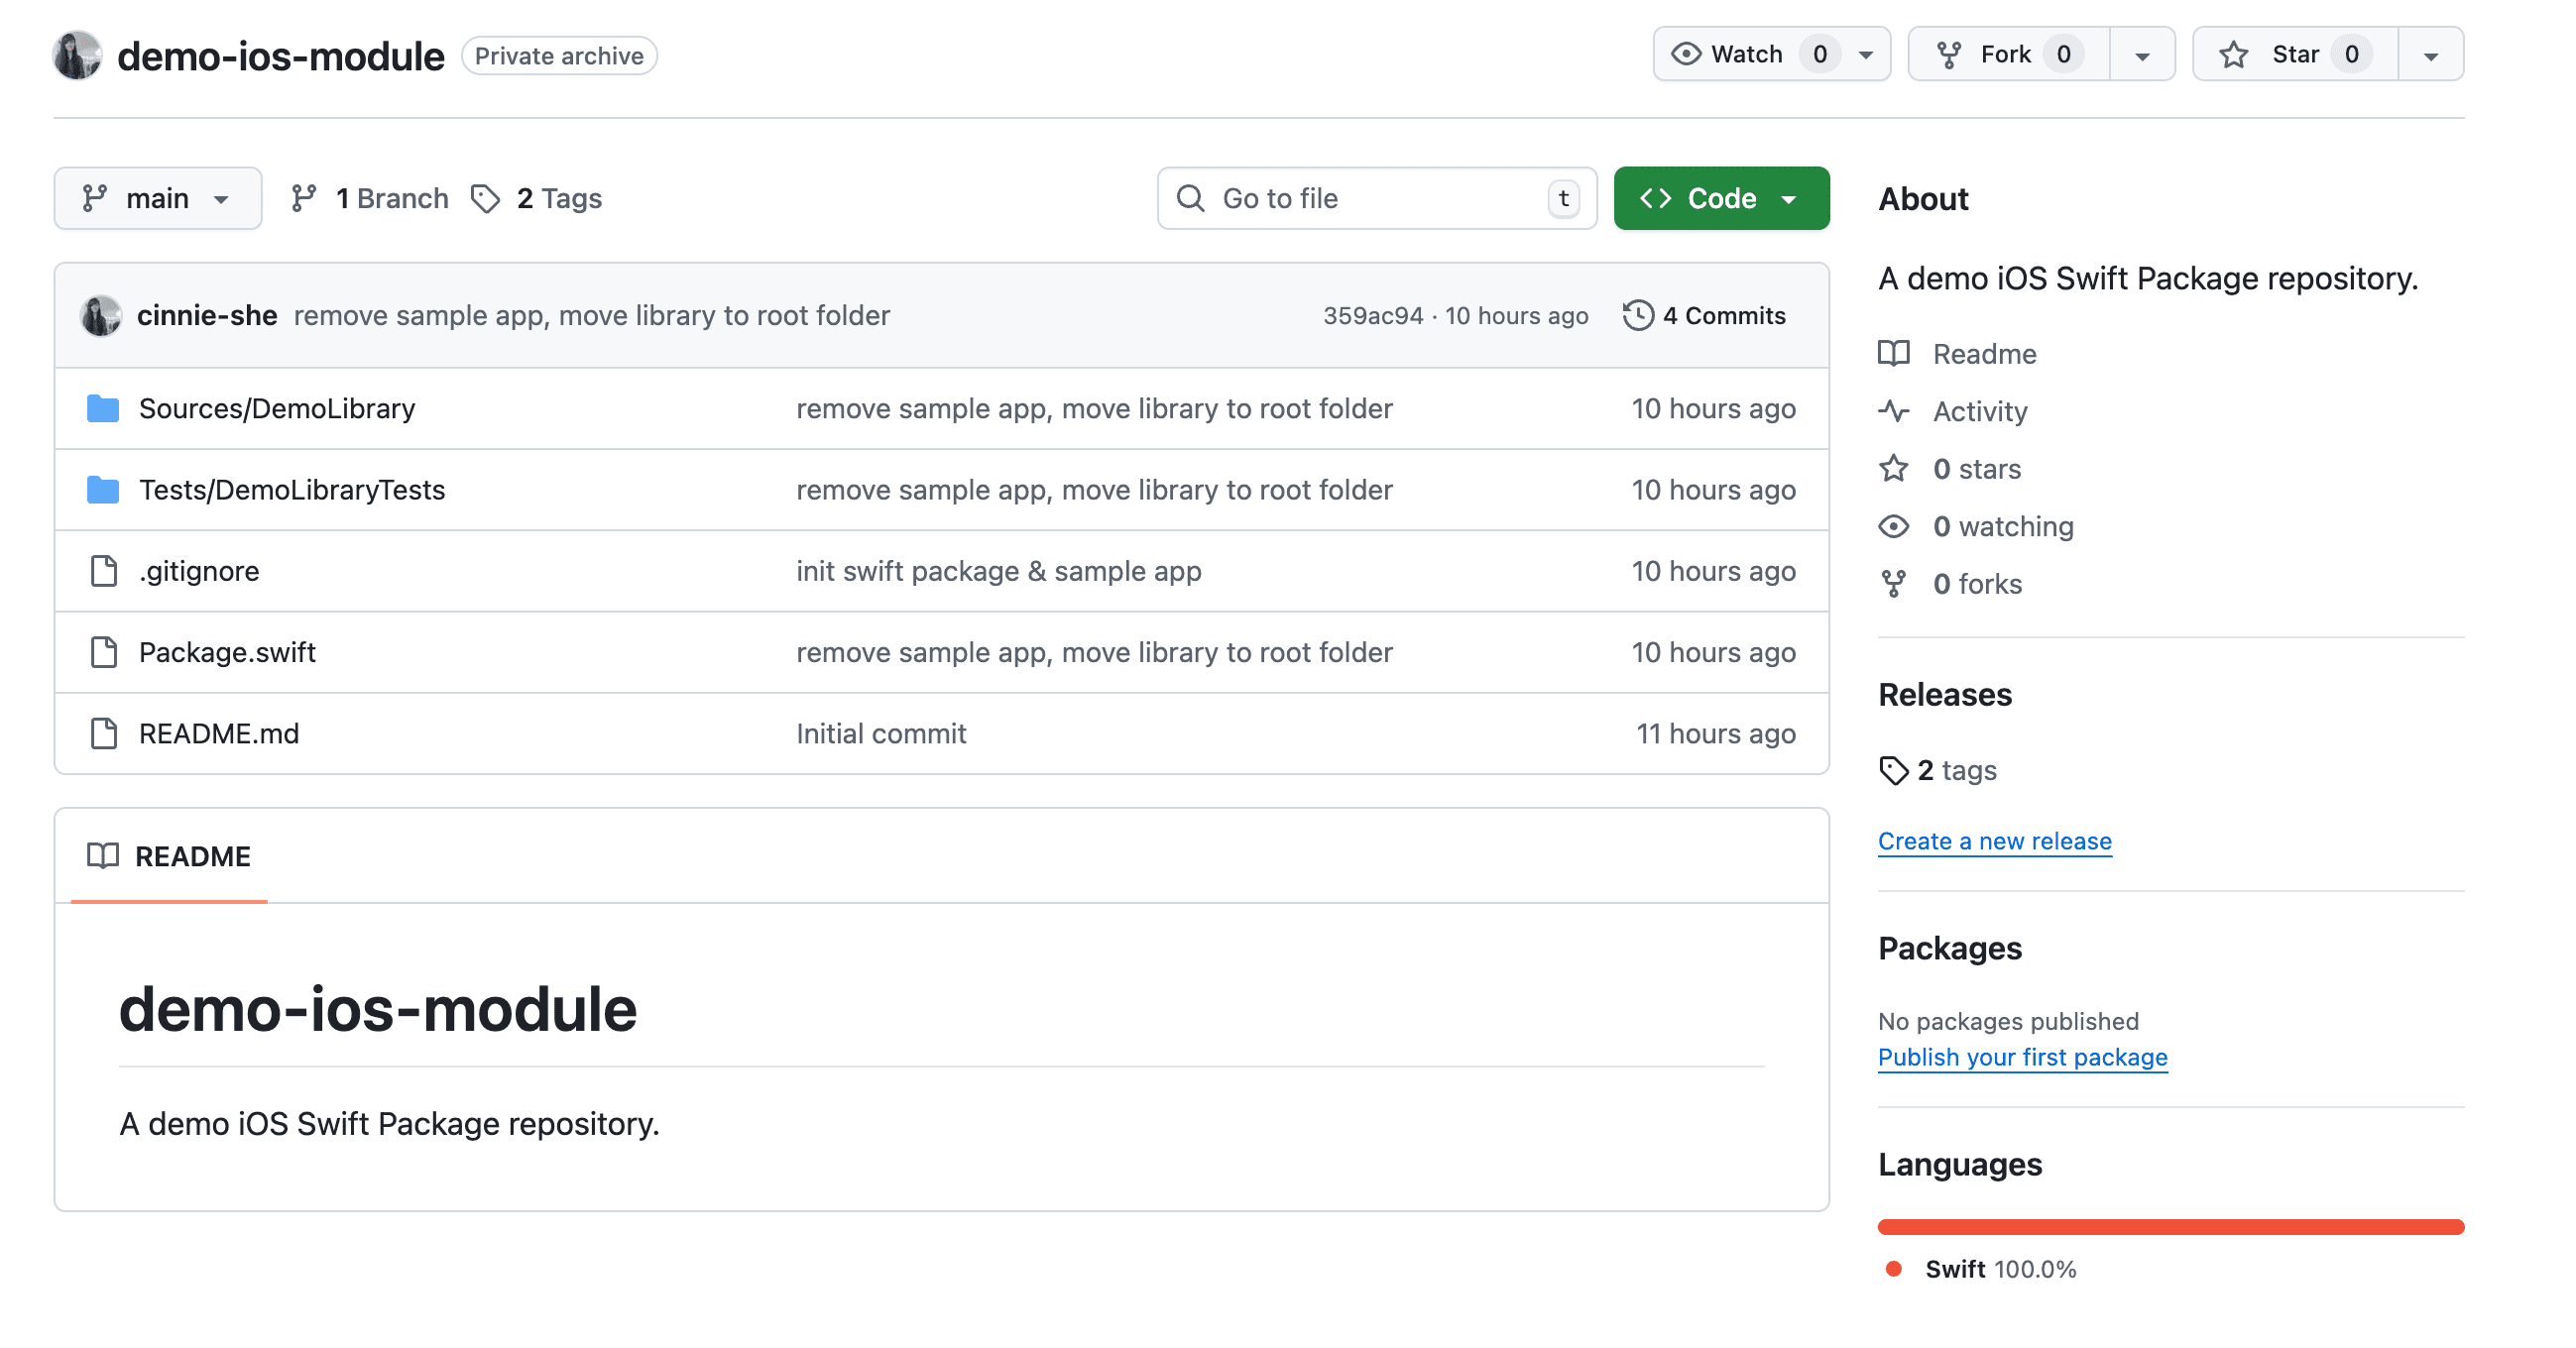
You can click the tag under the
Releasessection on the right panel of your GitHub repository page.
Import the Swift Package
In your another app project in Xcode, go to
File > Add Package Dependenciesand type in the GitHub linkhttps://github.com/<your-github-username>/<your-swift-package-repo-name>to import the Swift Package.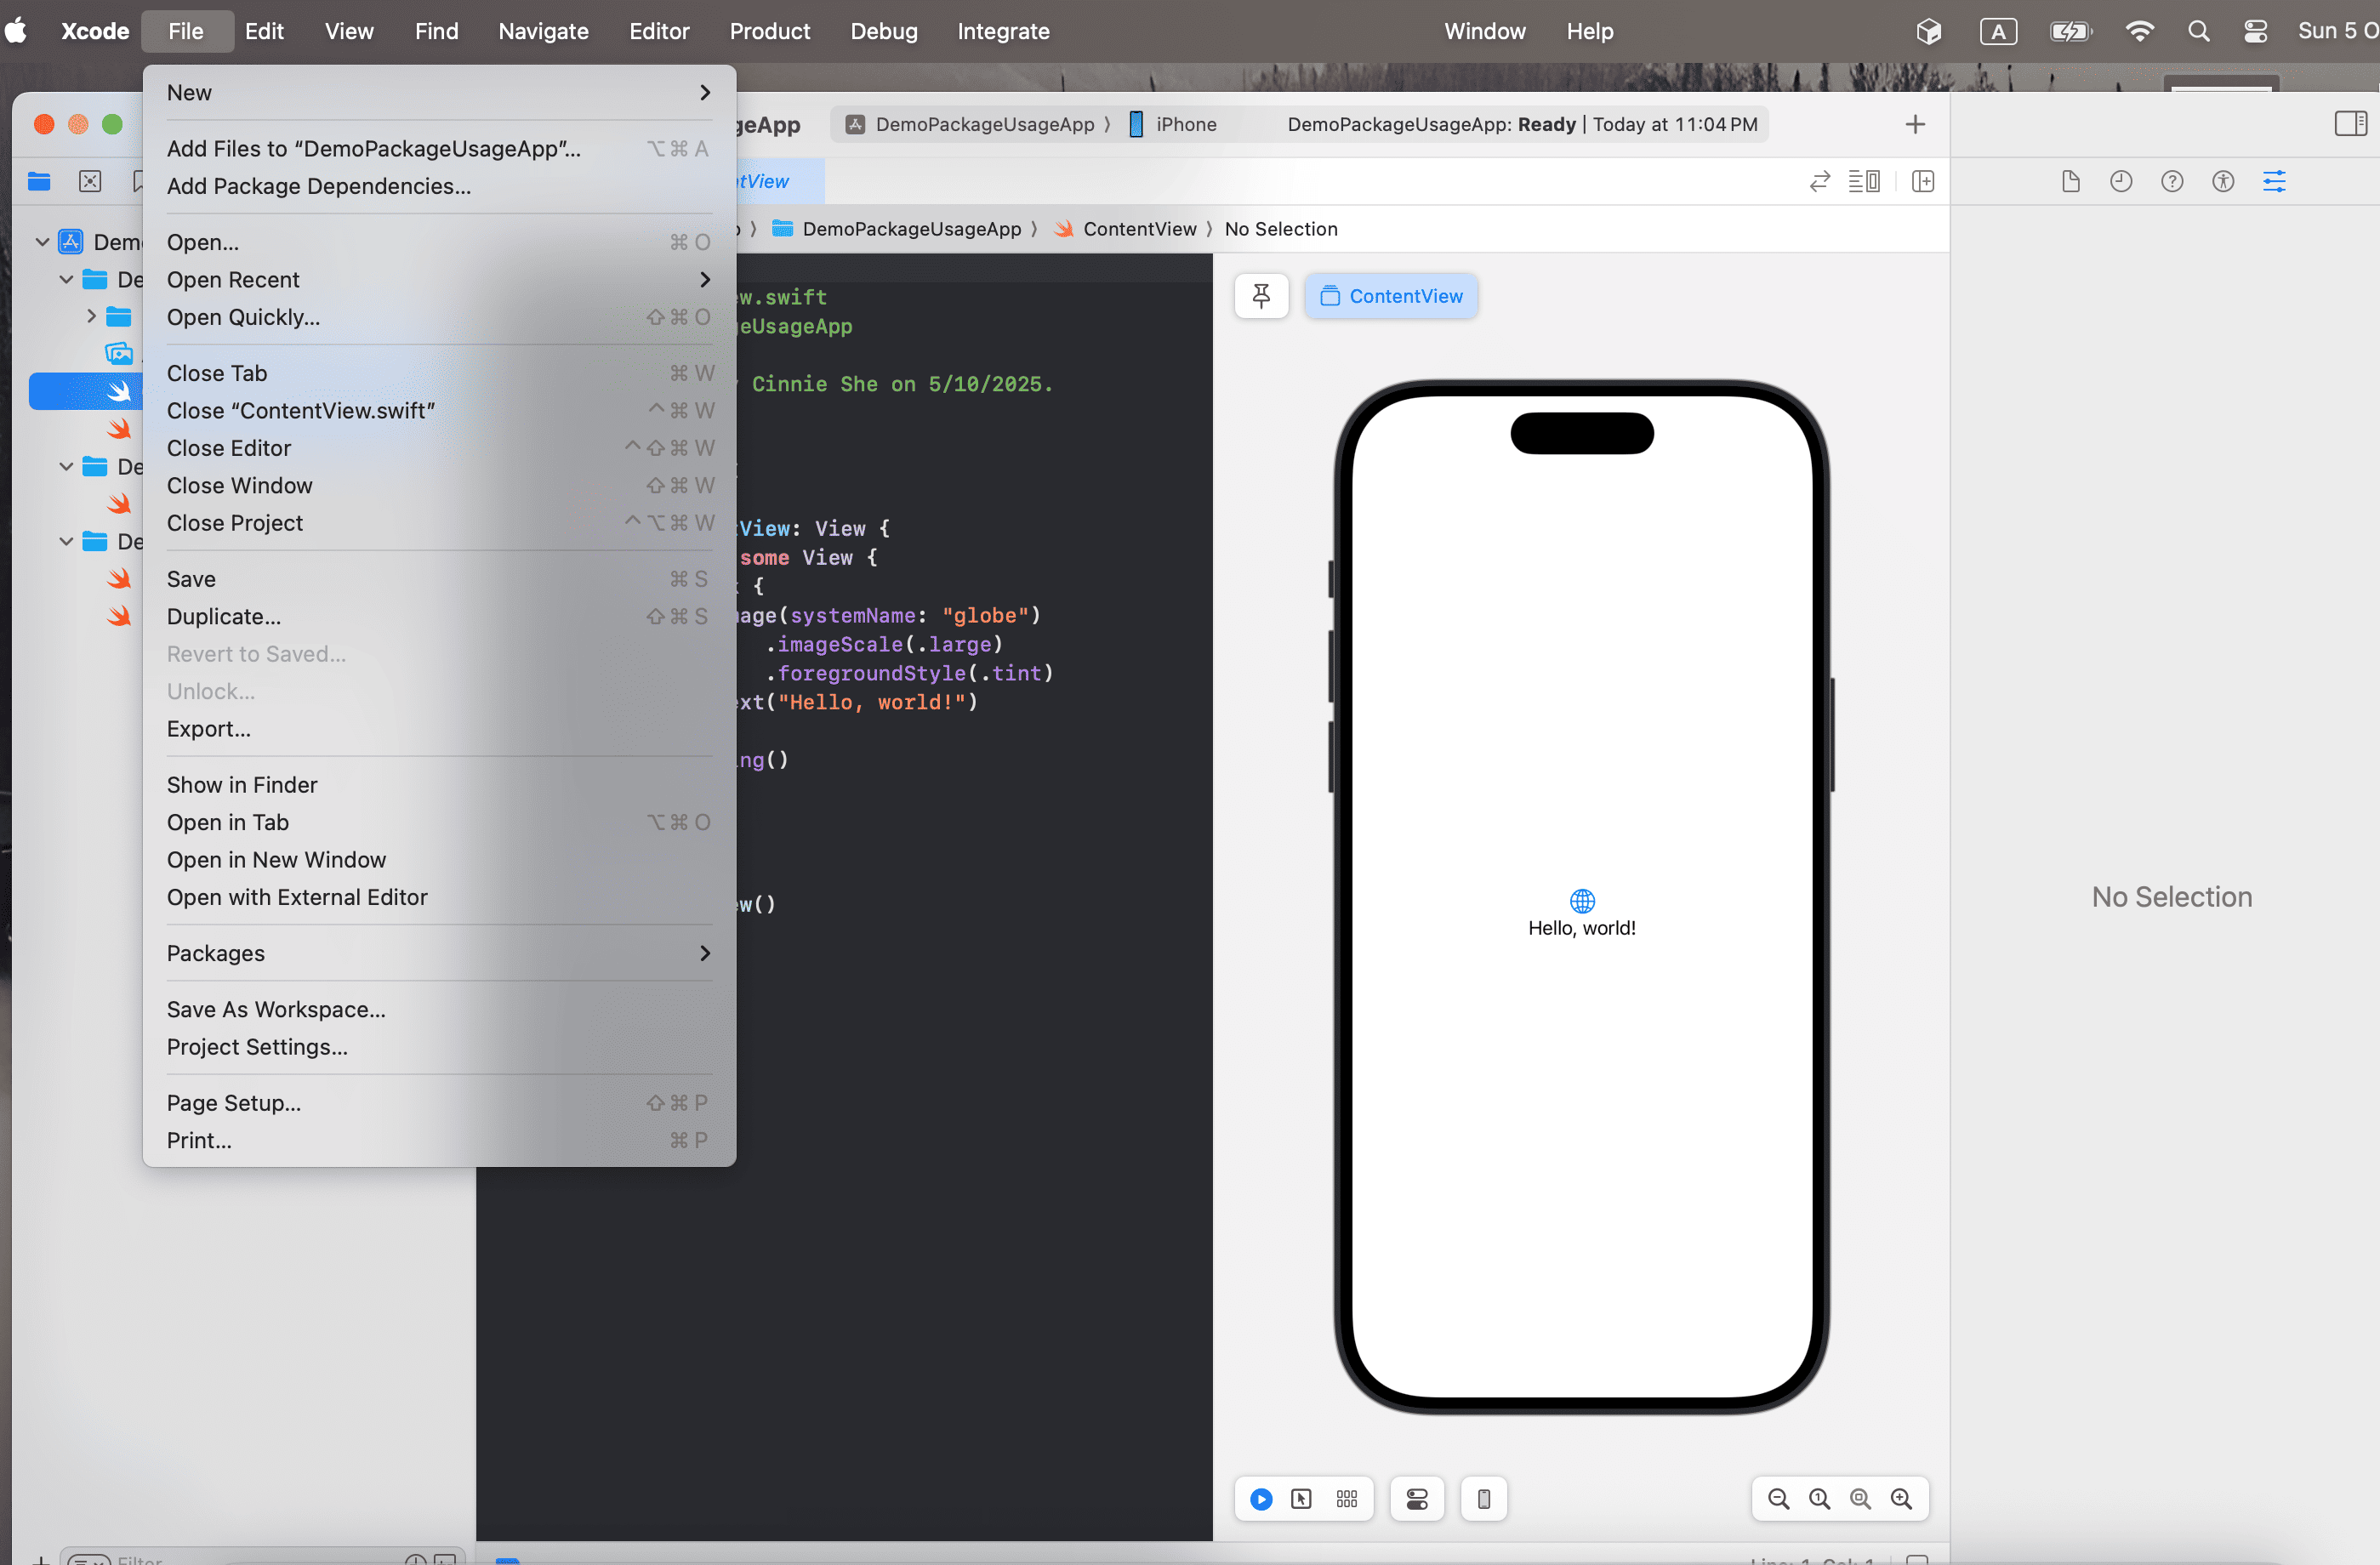
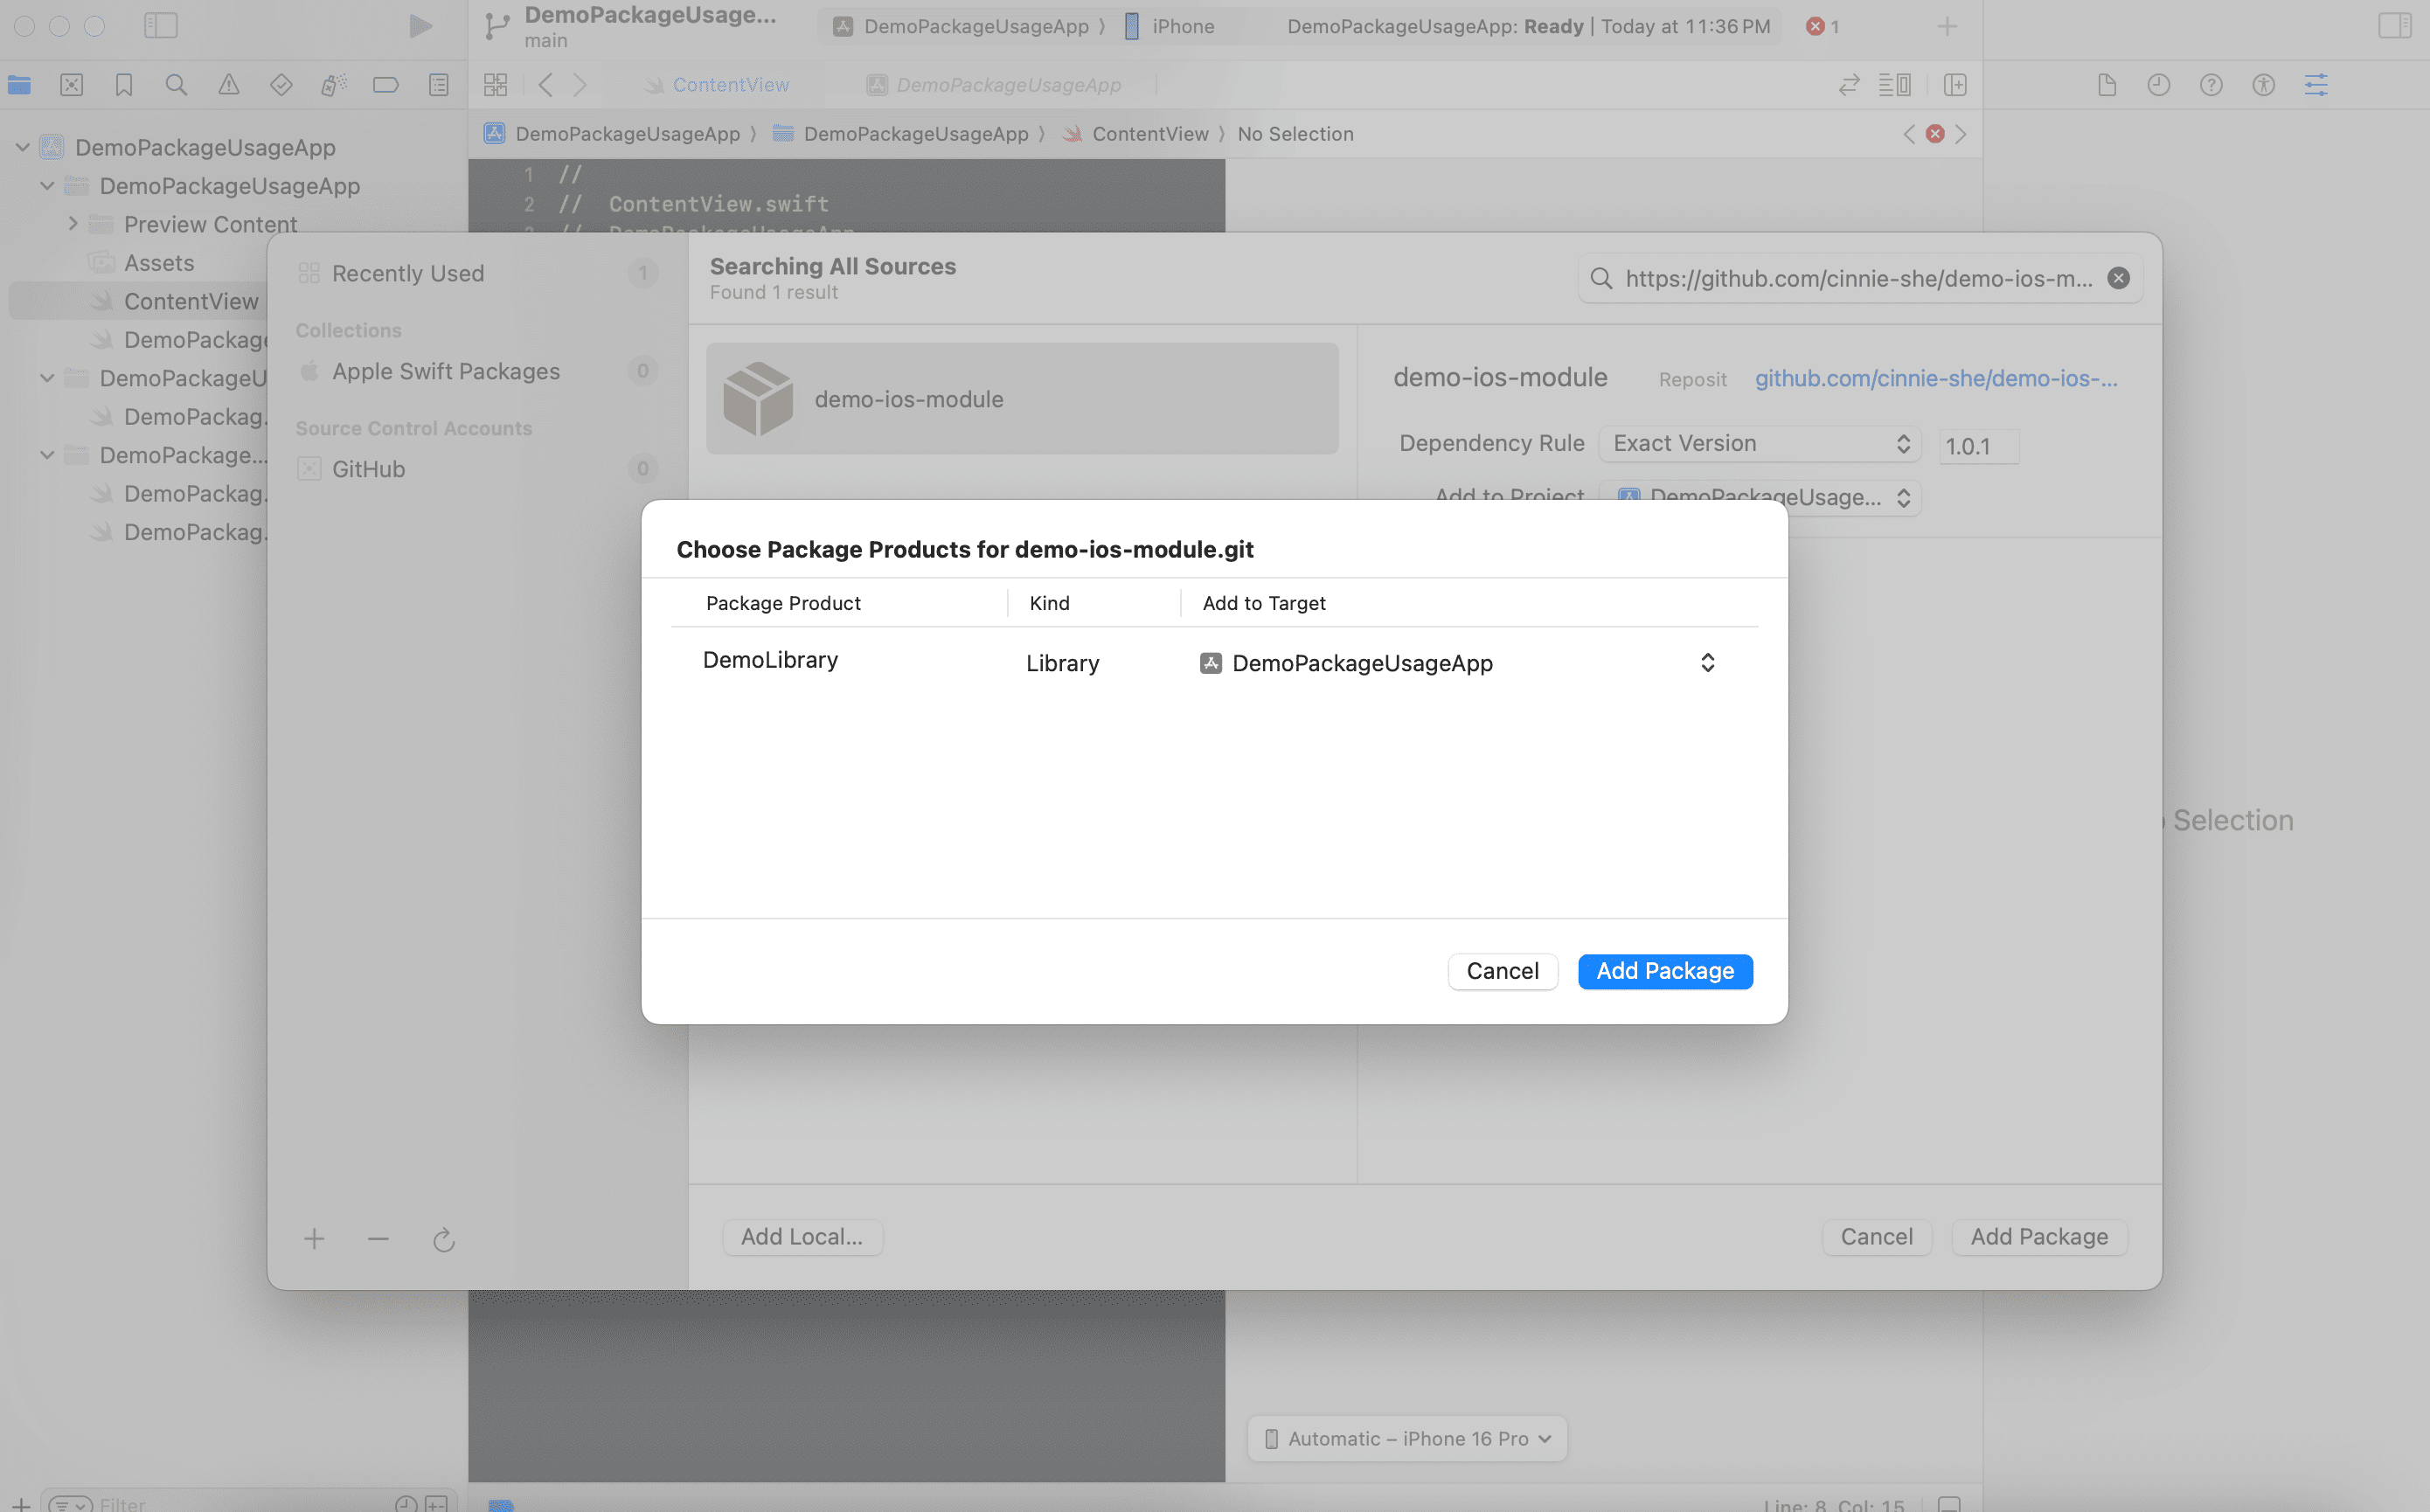
Search your Swift Package using your GitHub repository's URL. You can obtain the URL from GitHub
Clone > HTTPS.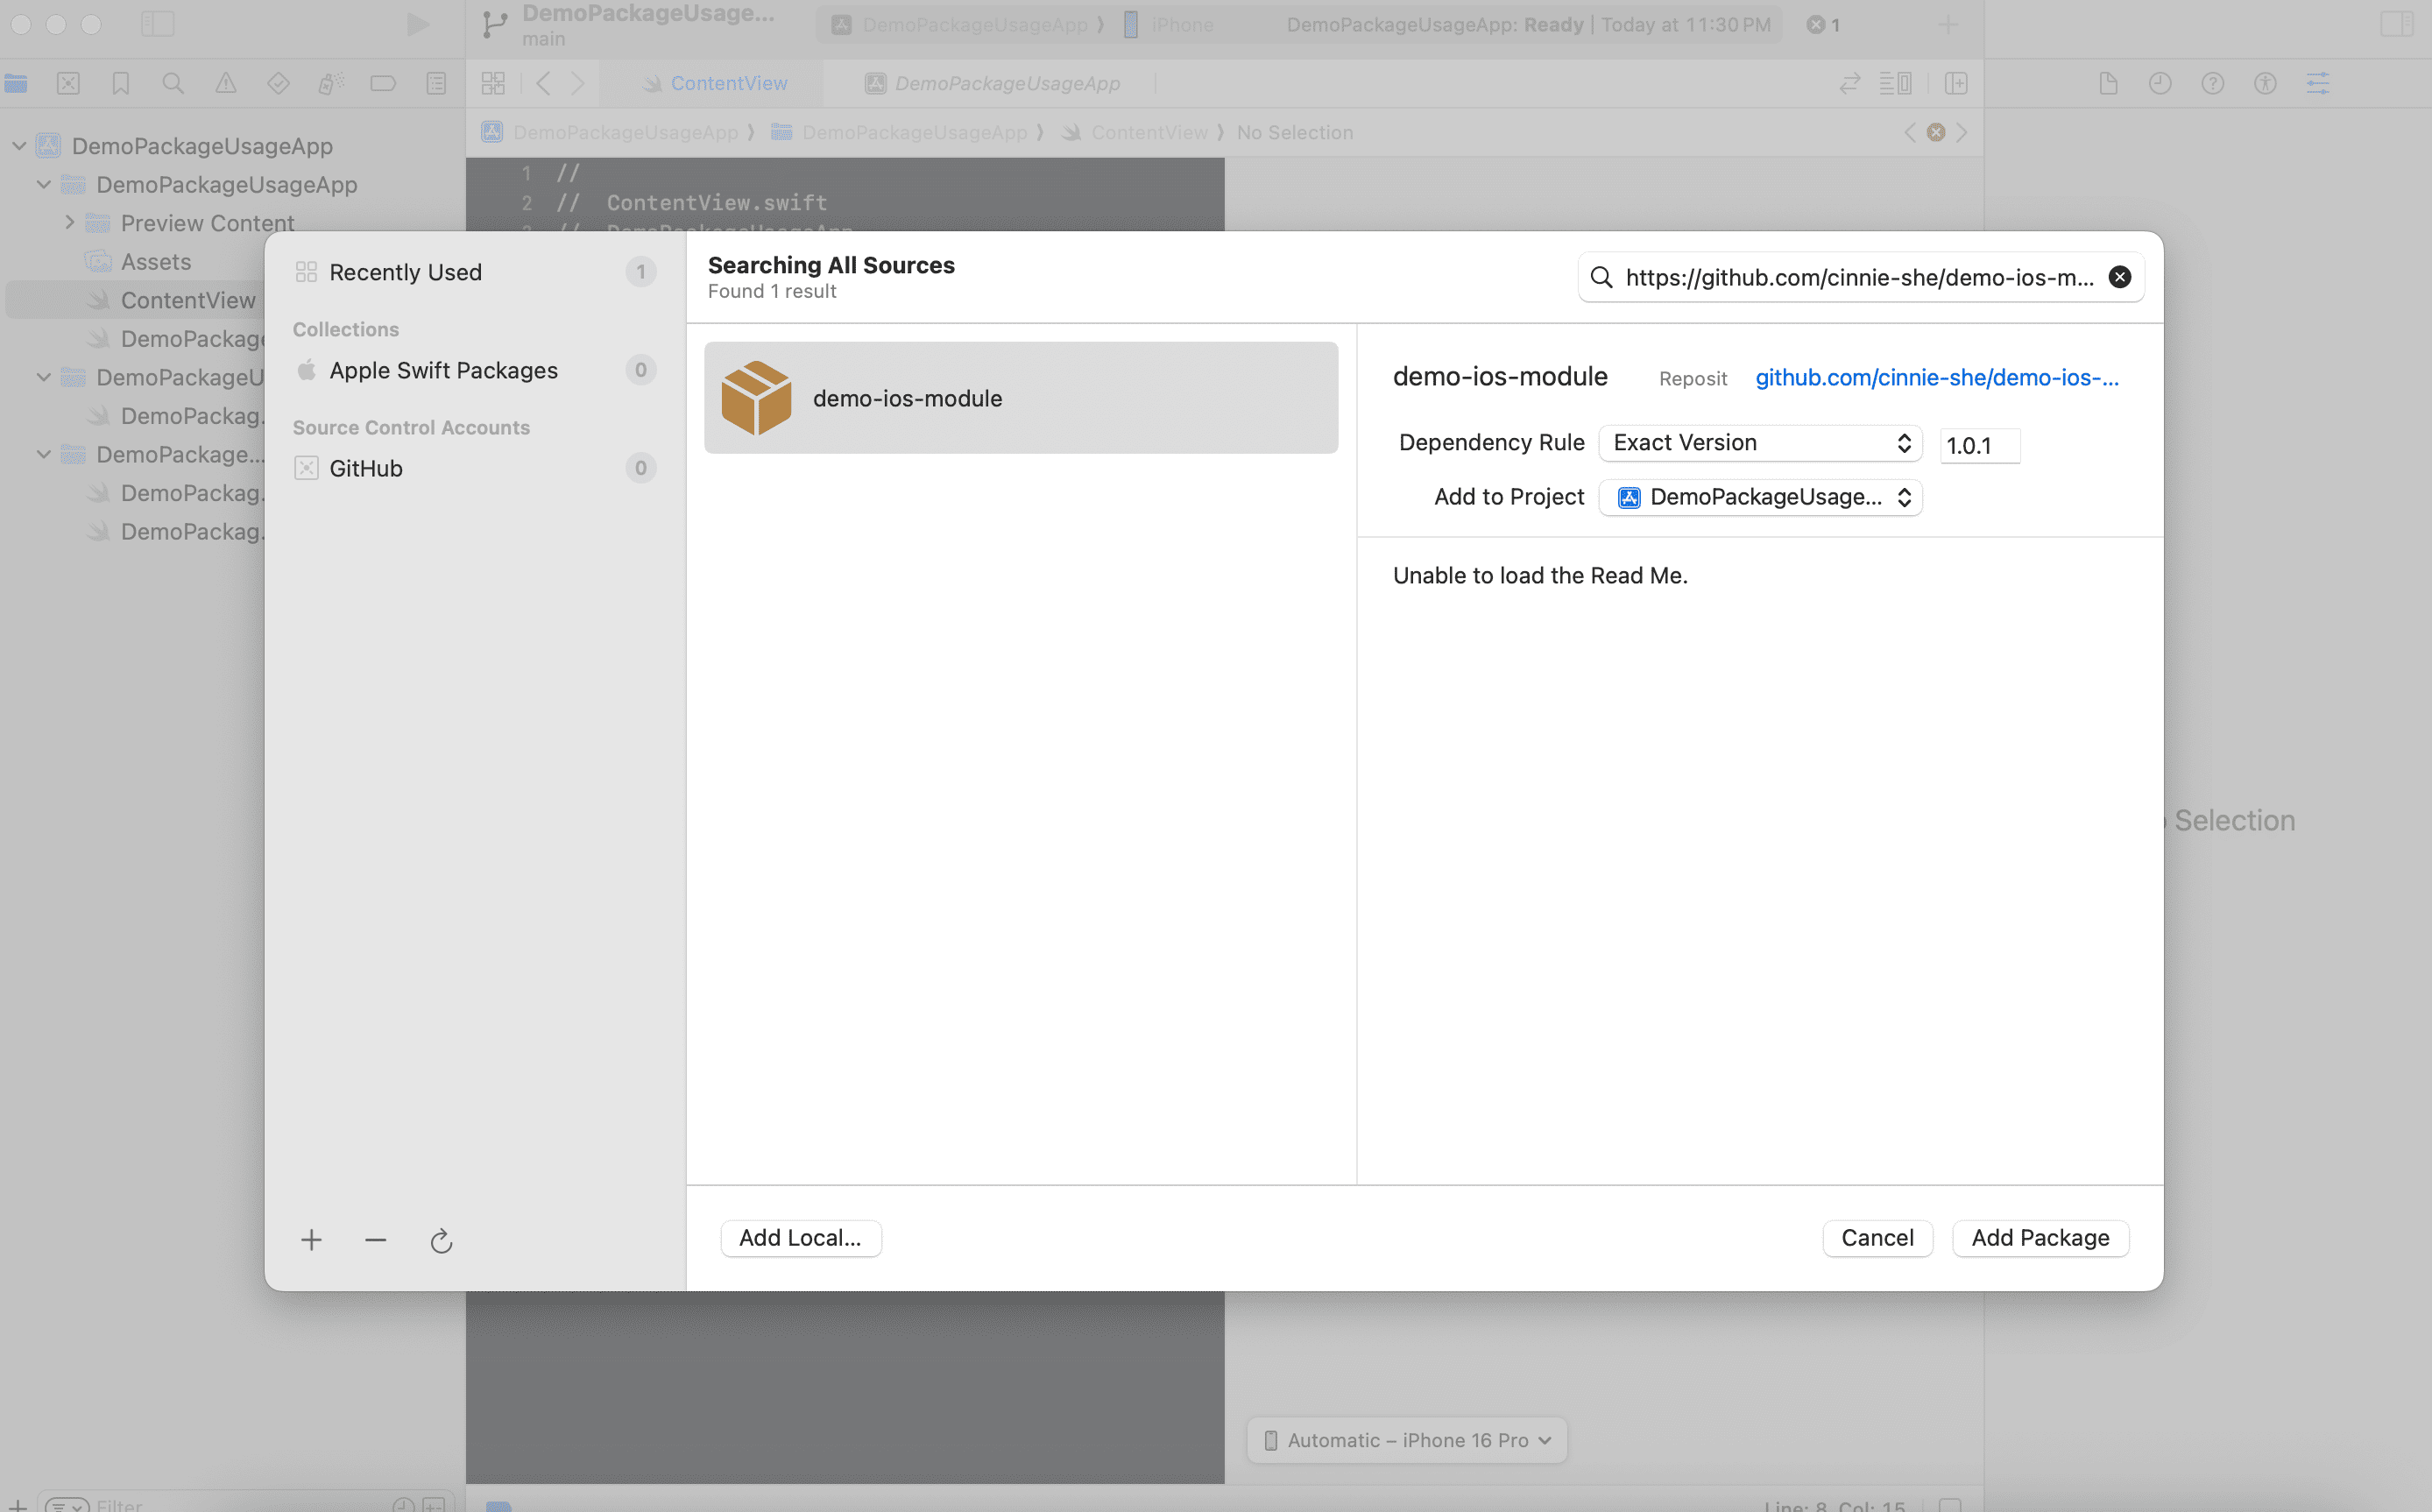
If you haven't setup your GitHub account and personal access token in Xcode, it might prompt you to input your GitHub account name, and your personal access token. Create a personal access token in GitHub to access your Swift Package. (Go to
Settings > Developer Settings > Personal access tokens > Tokens (classic), create a new token and give the neccessary permissionsrepo,admin:public_key,user, andwrite:discussion). After inputting the info in Xcode, you will be able to import your Swift Package.
Click
Add Package.Select your app target to add the Swift Package dependency.
You should now be able to import your library, and access the APIs in your Swift Package.
Update the Swift Package
To update your Swift Package within your app project, right click on the package in the left panel of Xcode, and click Update Package.